Adding a Wine Rack to Your Kitchen Cabinetry: A Comprehensive Guide
For wine enthusiasts, integrating a dedicated wine rack into their kitchen cabinetry is a dream come true. Not only does it provide a stylish and organized storage solution for your cherished bottles, but it also adds a touch of sophistication to the heart of your home. This comprehensive guide will walk you through the process of adding a wine rack to your existing kitchen cabinetry, from planning and design to installation and finishing touches.
Planning and Design Considerations
Before embarking on your wine rack installation, it's essential to carefully consider your requirements and design preferences. This planning phase will ensure a seamless integration of the rack into your existing kitchen layout.
1. Define Your Wine Collection and Storage Needs
Start by evaluating the size and nature of your wine collection. Are you storing primarily reds, whites, or a mix of both? Consider the number of bottles you intend to store and any special bottles that require specific conditions, such as vintage wines or larger format bottles.
2. Determine the Ideal Location
Choose a location that is easily accessible, well-ventilated, and protected from direct sunlight. Consider factors like proximity to your dining area, the available space within your cabinets, and your preferred aesthetic. Some common locations for wine racks include:
- Within existing cabinets: This provides discreet storage and maximizes existing space.
- Above or below countertop cabinets: Creates a dedicated wine display area.
- In a dedicated wine cellar: Ideal for larger collections and a dedicated space.
3. Select the Right Wine Rack Style and Material
There is a wide variety of wine rack styles and materials available, each with its own advantages and aesthetics.
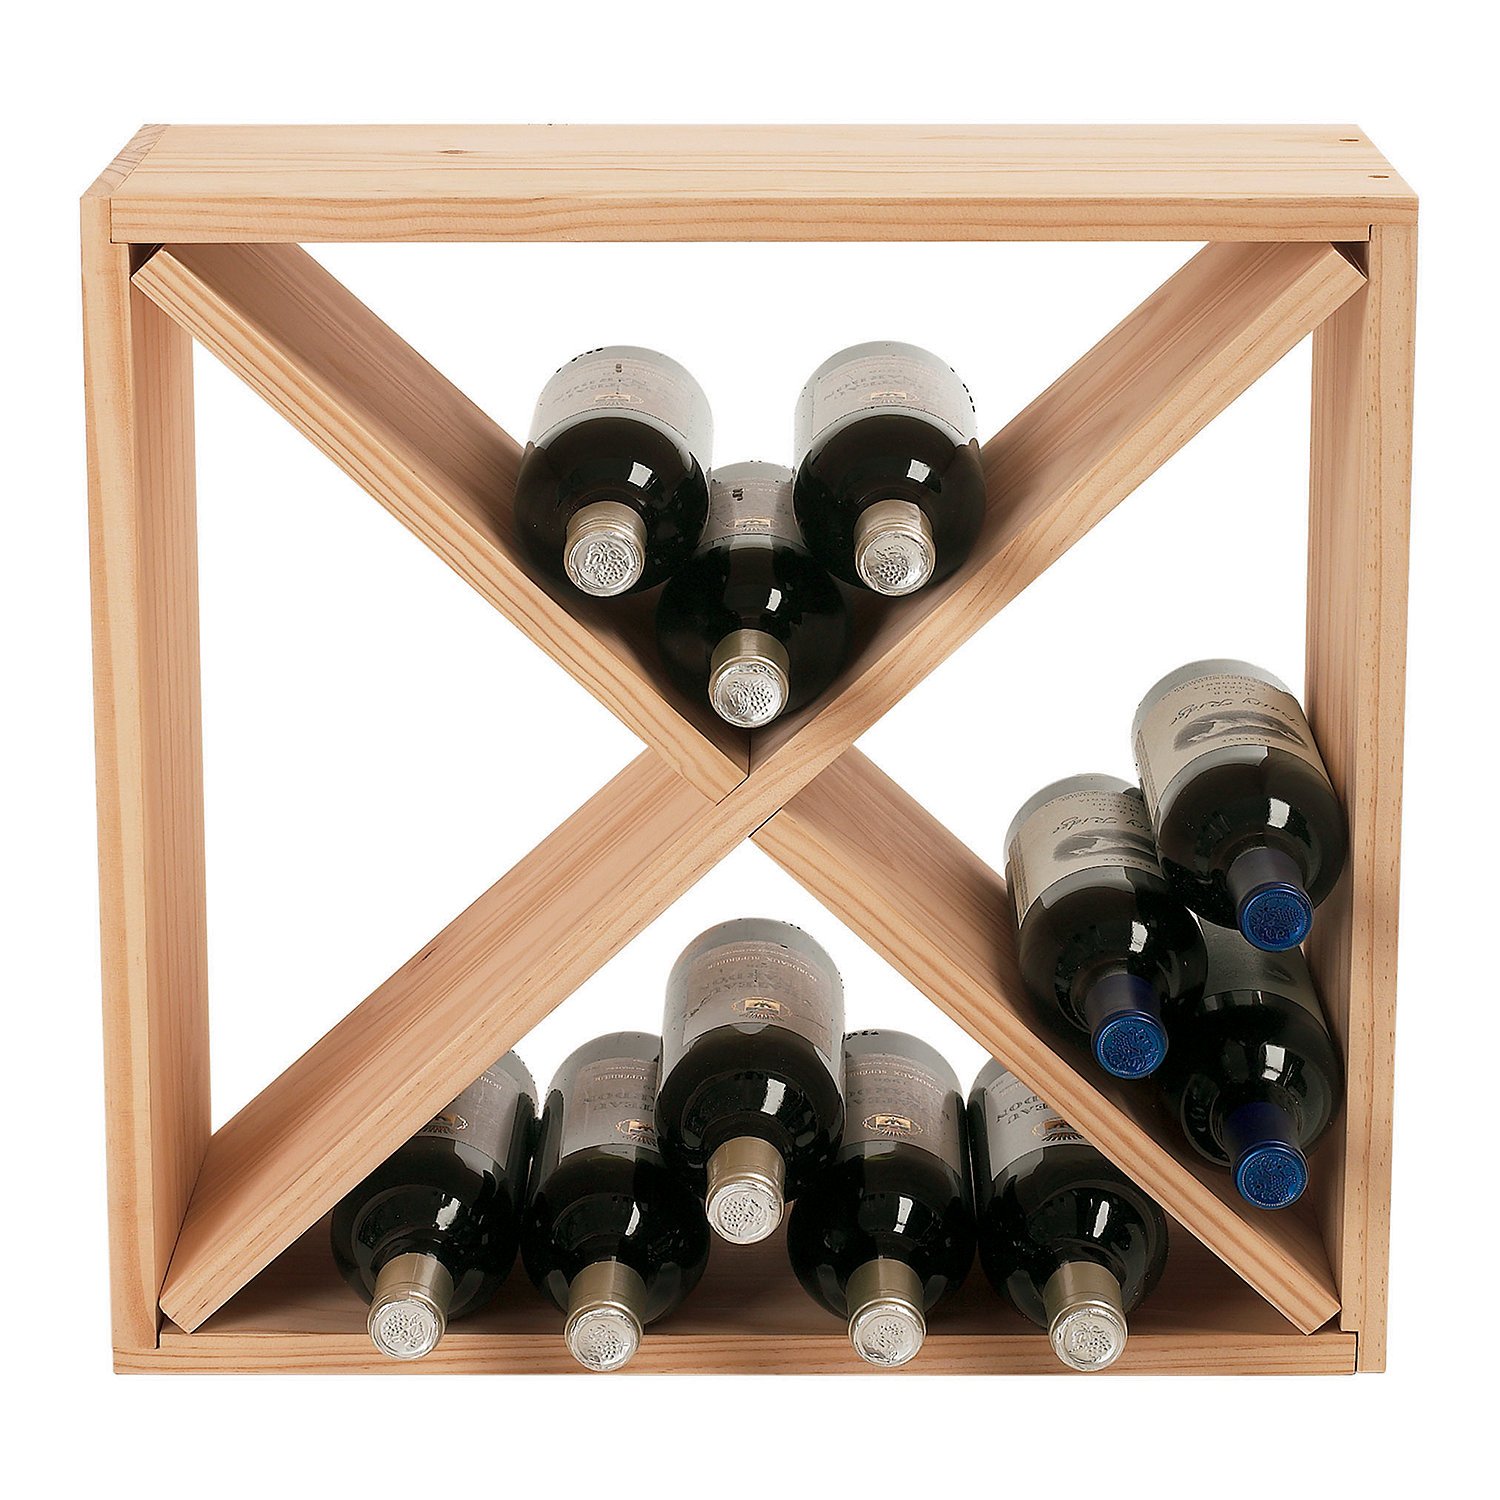
- Traditional wine racks: Often made of wood, these racks offer classic elegance and a timeless look. They come in various designs, including single-bottle shelves, tiered racks, and bottle-resting racks.
- Modern wine racks: Featuring sleek and contemporary designs, often made from metal, glass, or acrylic. These racks can enhance a modern kitchen's minimalist aesthetic.
- Wall-mounted wine racks: Offer a space-saving option, especially for smaller kitchens. They are available in various materials, including wood, metal, and glass.
- Built-in wine racks: Offer a seamless integration into your cabinetry and can be customized to perfectly match your kitchen's design.
4. Consider Functionality and Accessibility
Ensure that the wine rack is easy to access and navigate. This is particularly important for heavier bottles or those stored at higher levels. Consider features like bottle-pulling mechanisms, adjustable shelves, and clear visibility for easy identification.
Installation Process: Step-by-Step Guide
Once you have finalized the design and location, it's time to start the installation process. The following steps provide a general guide, but specific instructions may vary based on your chosen rack and cabinetry type.
1. Prepare the Installation Area
Clear the designated area within your cabinet, ensuring sufficient space for the wine rack and any necessary tools. If needed, remove existing shelves or drawers to accommodate the rack's installation.
2. Mount the Wine Rack
Follow the manufacturer's instructions carefully when mounting the wine rack. This may involve using screws, brackets, or adhesive depending on the rack type. Ensure the rack is securely fastened and level.
3. Adjust and Test
Once installed, adjust the rack's shelves or components to ensure proper fit and functionality. Test the rack with a few bottles to confirm stability and accessibility. If necessary, make any adjustments to the rack's positioning or components before fully loading it.
4. Finishing Touches
After installation, complete the finishing touches, such as adding any decorative elements or accessories. You can also add a label holder or drawer organizers to further enhance the functionality of the rack.
Tips for Choosing the Right Wine Rack
With so many options available, choosing the right wine rack for your needs can be overwhelming. Here are some tips to guide your selection:
- Consider the wine rack's capacity: Determine how many bottles you need to store and choose a rack with sufficient capacity.
- Think about the rack's style: Select a rack that complements your kitchen's aesthetic and design scheme.
- Prioritize functionality and accessibility: Ensure the rack is easy to access and allows for proper storage and display of your wine bottles.
- Look for durable materials: Choose a rack made from high-quality materials that can withstand the weight of the bottles and stand the test of time.
- Consider your budget: Wine racks range in price, so set a budget and stick to it.
Maintenance and Care
Once your wine rack is installed, maintaining it is crucial for preserving your wine collection and ensuring the longevity of the rack itself.
- Regular cleaning: Dust the rack regularly with a soft cloth or brush to prevent dust accumulation. Avoid using harsh cleaners or abrasive materials.
- Check for damage: Periodically inspect the rack for any signs of wear or damage, especially if you are storing heavier bottles. Repair or replace any faulty parts promptly.
- Maintain appropriate temperature and humidity: Store your wines in a cool, dark, and dry environment. Ideally, the temperature should be between 55°F and 65°F, and humidity should be around 60-70%.
Conclusion
Adding a wine rack to your kitchen cabinetry can transform your storage solution, elevate your kitchen's style, and enhance your wine-loving experience. By following these steps, you can create a functional and aesthetically pleasing space that showcases your wine collection and adds a touch of sophistication to your kitchen. Remember to choose the right rack for your needs, ensure proper installation, and maintain it regularly for optimal results.
0 comments:
Post a Comment
Note: Only a member of this blog may post a comment.