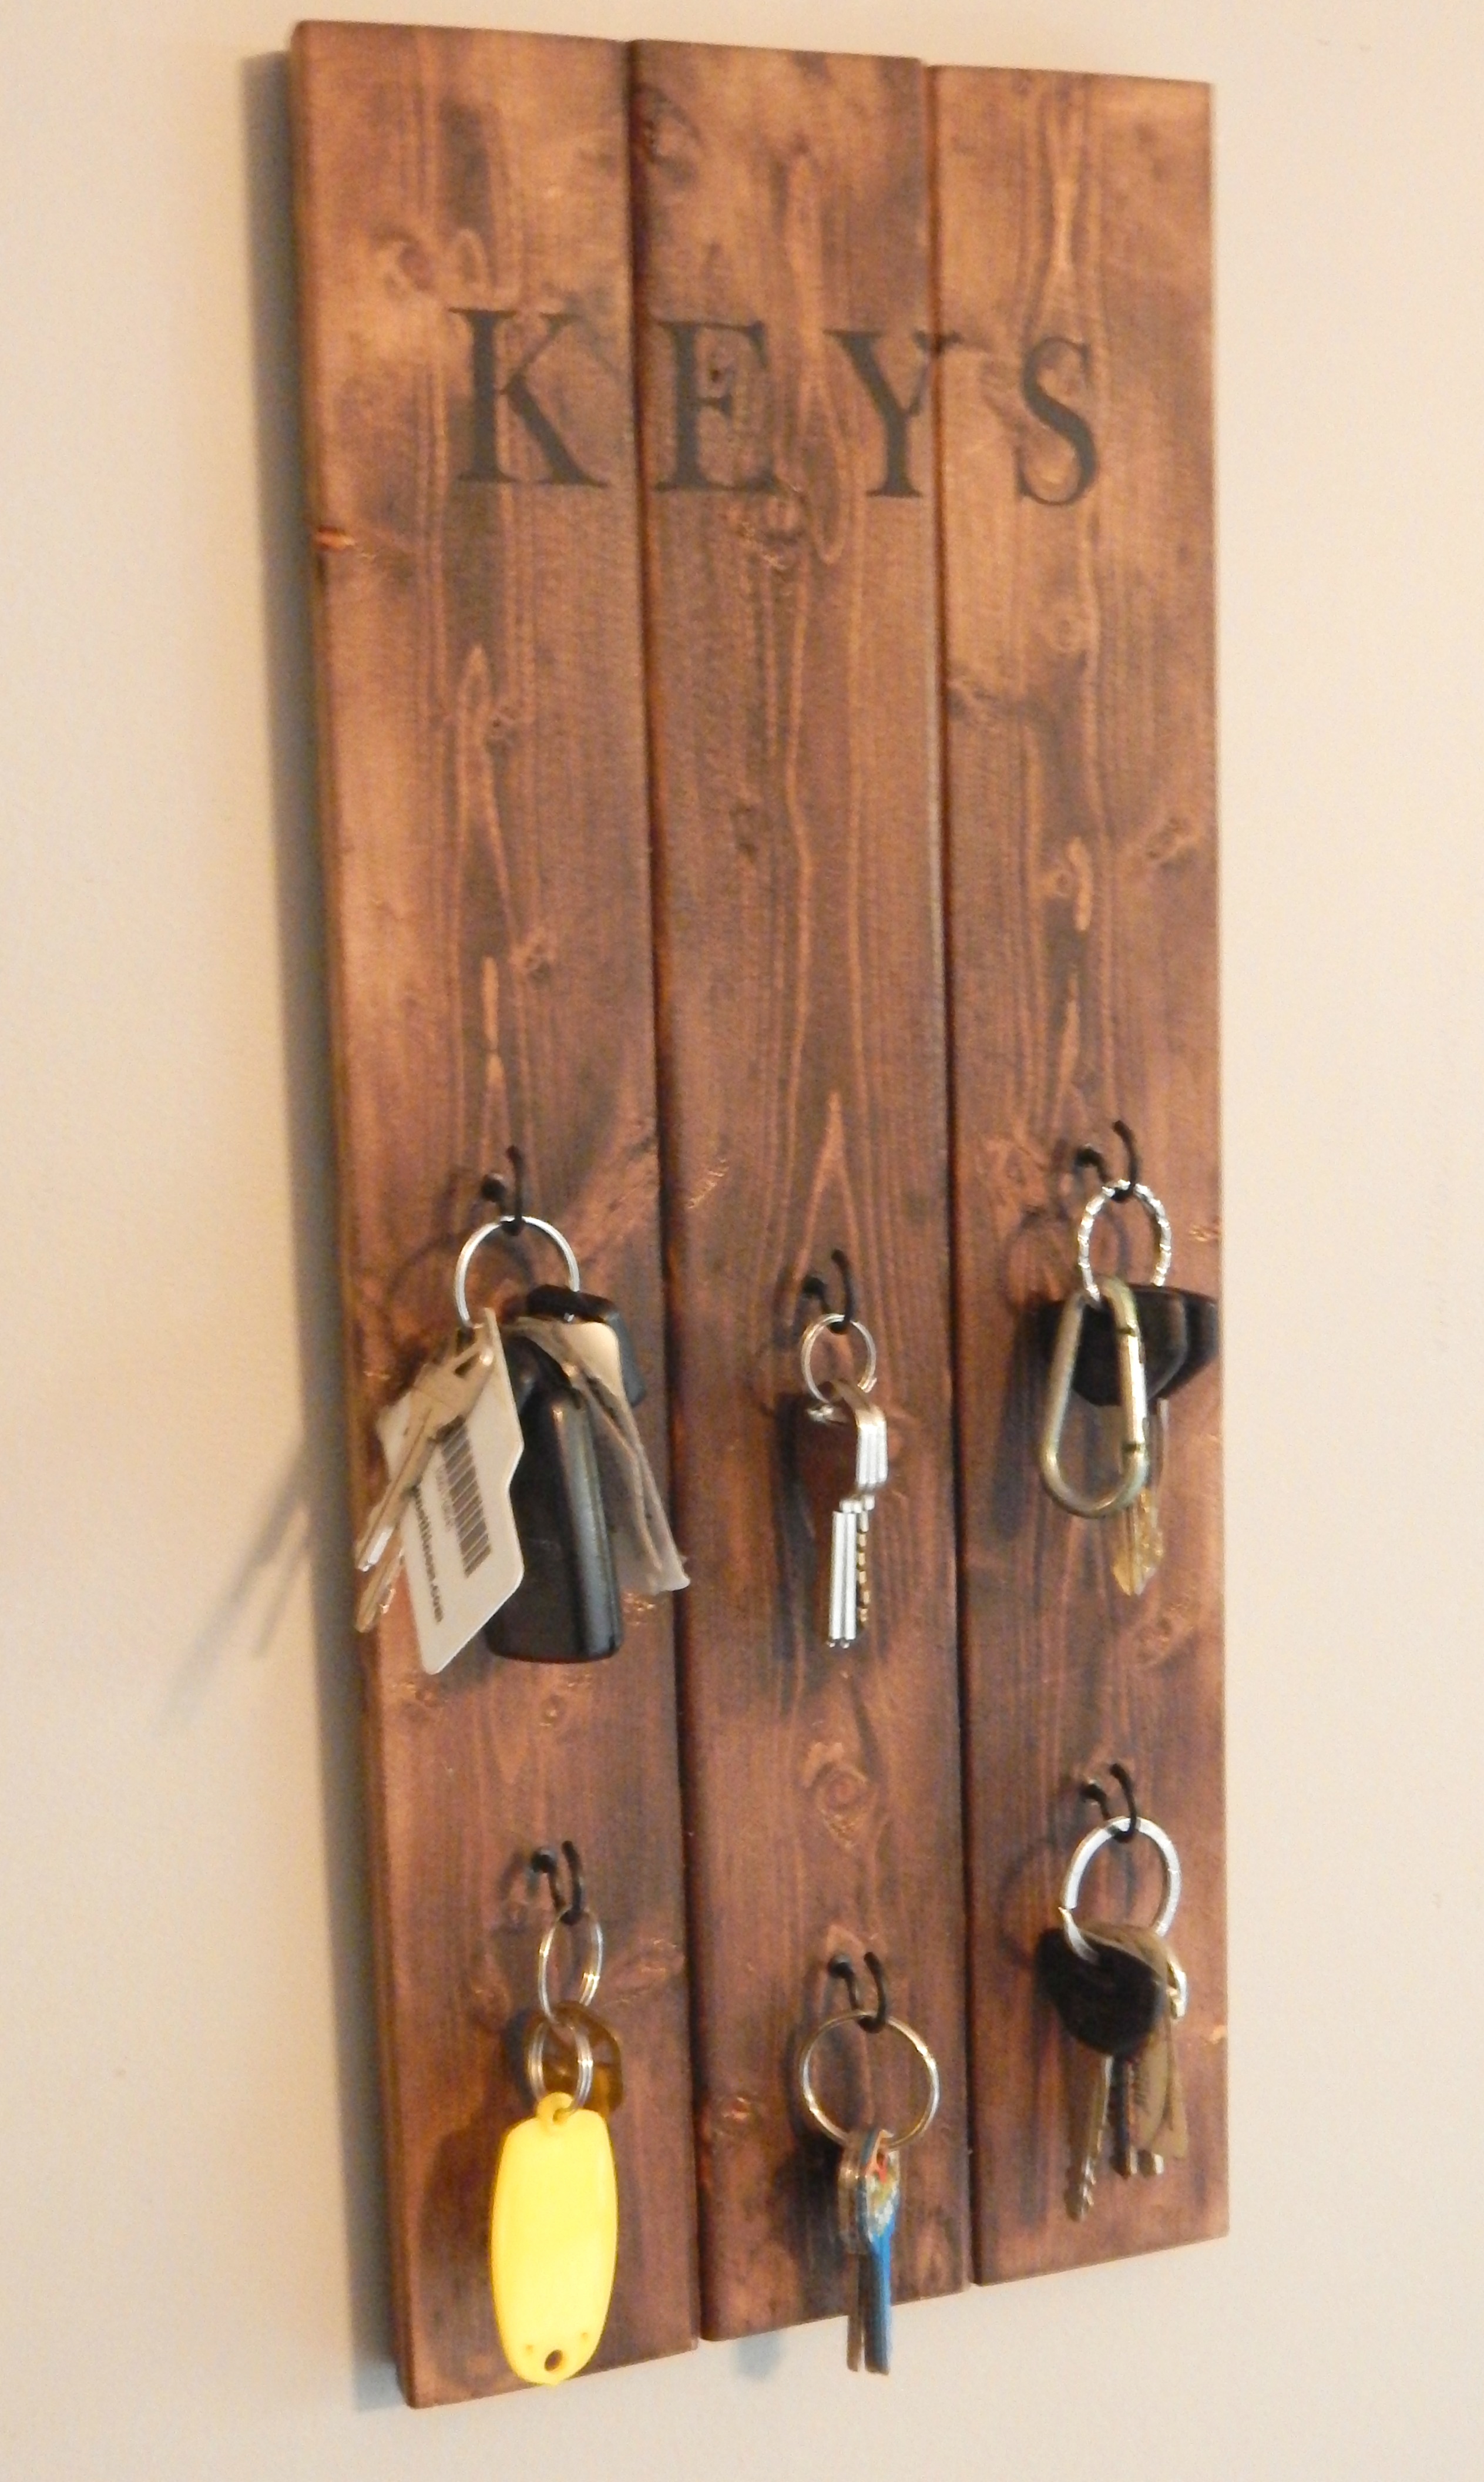
Build a Wooden Key Holder for Large Families
Tired of searching for keys in the chaos of family life? A well-designed wooden key holder can be the solution you need. Not only does it provide a designated spot for everyone's keys, but it can also add a touch of warmth and personality to your entryway. This guide will walk you through building a robust wooden key holder with multiple hooks, perfect for even the biggest families.
Choosing the Right Wood and Materials
The first step is selecting the perfect wood for your key holder. Hardwoods like oak, maple, or walnut are excellent choices due to their durability and attractive grain patterns. Softwoods like pine or cedar are more affordable but may require more care and attention to prevent scratches.
Beyond the wood, you'll need:
- Hooks: Choose sturdy hooks with a finish that complements your wood. Metal hooks are common but consider using rustic hooks made from wood or leather for a unique touch.
- Wood glue: A strong wood glue is essential for securing the hooks and any decorative elements.
- Screws: Matching screws for attaching the hooks and any additional components. Consider using countersinking screws to create a flush finish.
- Wood stain or paint: Choose a finish that complements your home décor and protects the wood. You can use natural wood stains, paint, or even apply a clear sealant for a simple, elegant look.
- Sandpaper: Use sandpaper to smooth the wood before finishing. Start with rough grit sandpaper and work your way down to finer grits for a smooth, polished surface.
Crafting Your Key Holder
Design and Cutting
The design of your key holder is entirely up to you. A simple rectangular board with multiple hooks is easy to build, while a more intricate design can add extra character. Consider adding a shelf for mail, a small cubby for gloves, or even a built-in letter opener.
Once you have your design, use a saw to cut the wood to the desired size. If you are using a complex design, carefully measure and mark the wood before cutting.
Attaching the Hooks
Before attaching the hooks, drill pilot holes slightly smaller than the screw diameter to prevent splitting the wood. This step is essential for hardwoods and can be beneficial for softwoods as well.
Position the hooks at even intervals along the key holder. Use wood glue to secure each hook before driving in the screws. Ensure the screws are secure without overtightening, which can lead to damage.
Finishing Touches
Once the hooks are attached, use sandpaper to smooth any rough edges and create a consistent surface. Apply wood stain or paint following the manufacturer's instructions, allowing each coat to dry completely before applying the next.
For added detail, consider adding decorative elements like a personalized inscription, a small wooden emblem, or a coat of clear sealant to protect the finish.
Tips for Success
Here are some additional tips to ensure a successful project:
- Measure twice, cut once. Accuracy is crucial when working with wood. Take your time to measure carefully and double-check your measurements before making any cuts.
- Use safety gear. Always wear safety glasses and a dust mask when working with wood, especially when cutting or sanding.
- Be patient. Building a key holder is a process, and it takes time to create a quality product. Don't rush the process; take your time and enjoy the craftsmanship.
With a little time and effort, you can build a beautiful and functional wooden key holder that will be the envy of your family and friends. It will not only keep your keys organized but also become a cherished piece of your home décor.
