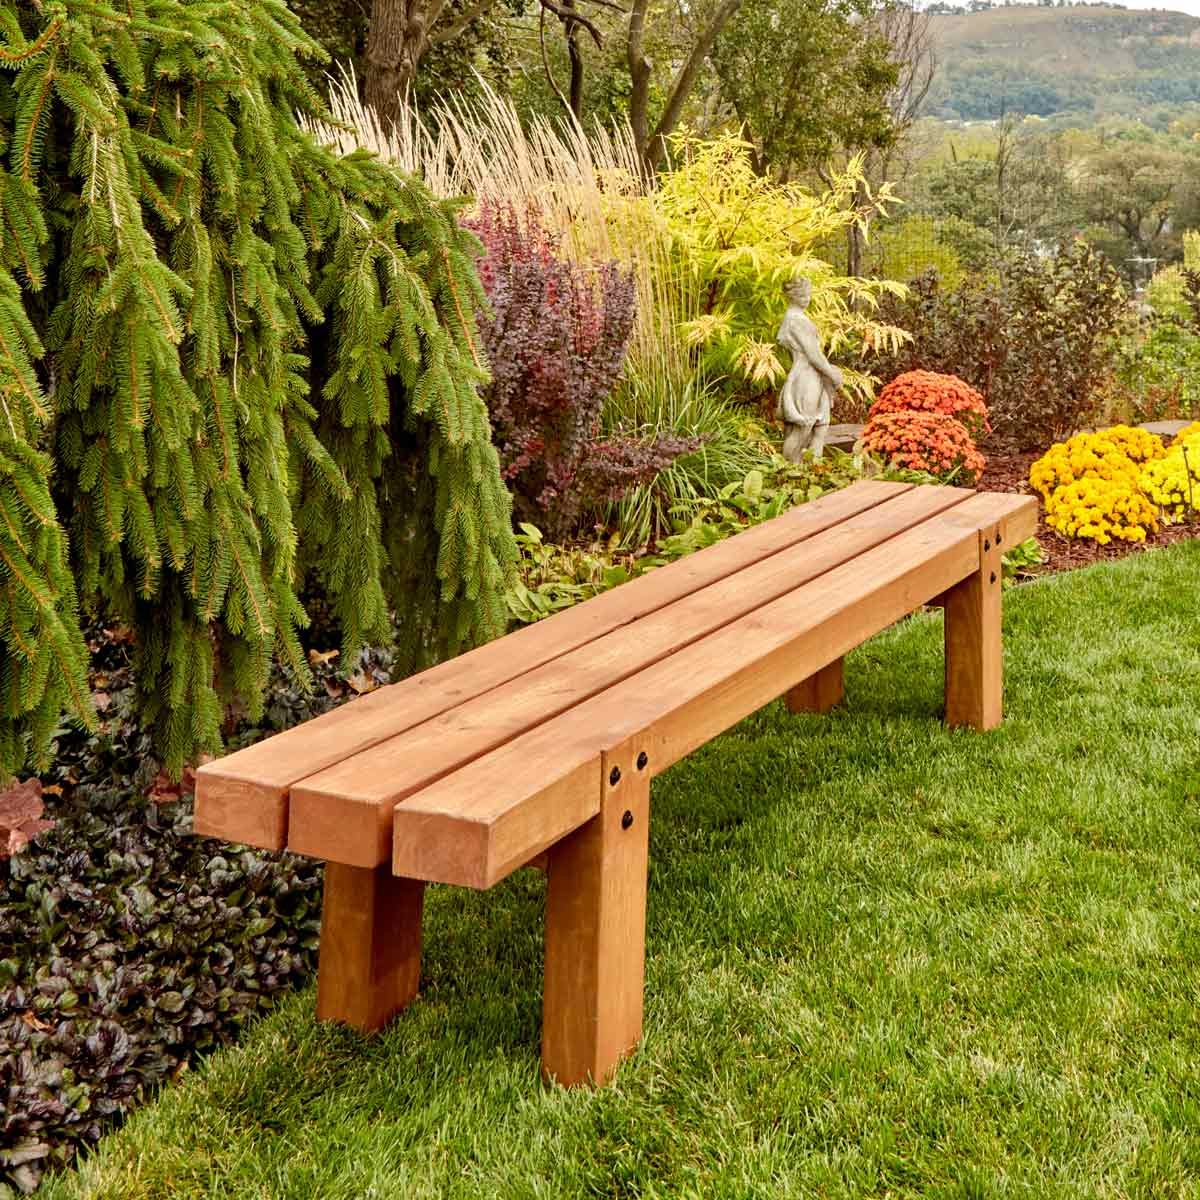
Crafting Sturdy and Beautiful Wooden Benches for Outdoor Spaces
A wooden bench can be a valuable addition to any outdoor space. It offers a comfortable place to sit and enjoy the scenery, providing a spot for relaxation, conversation, or simply soaking in the sun. Constructing a wooden bench is a rewarding project that allows you to create a piece of furniture that complements your garden or patio while reflecting your personal style. This comprehensive guide will walk you through the process of building sturdy and beautiful wooden benches, from choosing the right materials to finishing touches.
Choosing Materials and Design
Wood Selection
The heart of any wooden bench lies in its wood. Selecting the right type of wood is crucial for both aesthetics and durability. Here are some popular choices:
- Cedar: Known for its natural resistance to decay and insects, cedar is a durable and fragrant option. It often develops a beautiful silver-gray patina over time.
- Redwood: Similarly durable and naturally resistant to decay, redwood also boasts a rich reddish-brown color that deepens with age.
- Teak: A tropical hardwood with exceptional strength and durability, teak is renowned for its resistance to moisture and insects. It also develops a silver-gray patina over time.
- Ipe: One of the hardest and densest woods, Ipe is incredibly durable, resistant to decay and insects, and boasts a rich reddish-brown color.
- Pressure-Treated Pine: While not as elegant as some other options, pressure-treated pine is affordable, readily available, and offers good resistance to moisture and decay, making it suitable for outdoor use.
Design Considerations
Before diving into construction, carefully consider the design of your bench. This includes:
- Style: Do you prefer a simple, classic design or something more ornate? Consider the overall aesthetic of your outdoor space.
- Size: Determine the length and width of the bench to ensure it fits comfortably in your designated area and accommodates the number of people you intend to seat.
- Features: Would you like armrests, a backrest, or storage space beneath the seat? These features can enhance both functionality and aesthetics.
- Material Thickness: The thickness of the wood you choose will influence the bench's strength and stability. Thicker wood will generally be more durable and less prone to warping.
Construction Process
Preparing the Wood
Before you begin building, prepare your wood. This may involve:
- Cutting: Cut the lumber to your desired dimensions using a saw. Ensure your cuts are precise and accurate.
- Sanding: Sand all surfaces to remove rough edges and splinters. Begin with a coarser grit sandpaper and progress to a finer grit for a smooth finish.
- Pre-Drilling: Pre-drill holes for screws to prevent wood splitting, especially when working with hardwoods.
Assembling the Frame
Start by assembling the frame of your bench. This typically involves:
- Joining the Legs: Cut and assemble the legs, ensuring they are square and level. Use wood glue and screws or bolts for a sturdy connection.
- Creating the Seat Support: Depending on the design, you may construct a solid seat support frame or use individual slats. Secure the seat support to the legs.
- Attaching the Backrest: If your design includes a backrest, cut and attach the backrest pieces to the rear of the seat support frame.
Adding the Seat and Backrest
Once the frame is complete, attach the seat and backrest. This process may vary depending on your design. You can use:
- Solid Seat: Cut a single piece of wood to the desired size and shape for the seat. Attach it to the seat support frame.
- Slats: Cut individual slats for the seat and back. Secure them to the frame with screws or bolts.
- Planks: Use multiple planks for a more substantial seat and backrest. Attach them to the frame securely.
Finishing Touches
Once your bench is assembled, add finishing touches to enhance its appearance and protect it from the elements:
- Sanding: Smooth any rough edges or imperfections with fine-grit sandpaper.
- Painting or Staining: Choose a paint or stain that complements your outdoor space and protects the wood from moisture and UV rays.
- Sealing: Apply a sealant to protect the wood from weathering and keep it looking beautiful for years to come.
- Adding Hardware: Consider incorporating decorative hardware like hinges, brackets, or bolts to enhance the visual appeal of your bench.
Tips for Durability and Longevity
To ensure your wooden bench stands the test of time, follow these tips:
- Use high-quality wood: Invest in durable wood species that are resistant to decay and insect infestation.
- Properly prepare the wood: Sand and treat the wood before assembly to prevent future damage.
- Use strong adhesives and fasteners: Choose high-quality wood glue and screws or bolts for a sturdy and lasting connection.
- Protect the wood: Apply a sealant and paint or stain to protect the wood from the elements and maintain its beauty.
- Regular maintenance: Regularly inspect the bench for signs of wear and tear and promptly address any issues to prevent further damage.
Conclusion
Building a wooden bench is a rewarding project that allows you to create a custom piece of furniture that complements your outdoor space and enhances your enjoyment of it. By choosing the right materials, carefully considering the design, and following the construction steps outlined in this guide, you can craft a sturdy and beautiful bench that will provide a comfortable spot for relaxation and enjoyment for years to come.

0 comments:
Post a Comment
Note: Only a member of this blog may post a comment.